Bedroom Wall Headboard Panel Sizing and Architectural Layout
Learn precise sizing, proportion ratios, and technical mounting standards for polyurethane headboard wall panel installations in bedroom design.
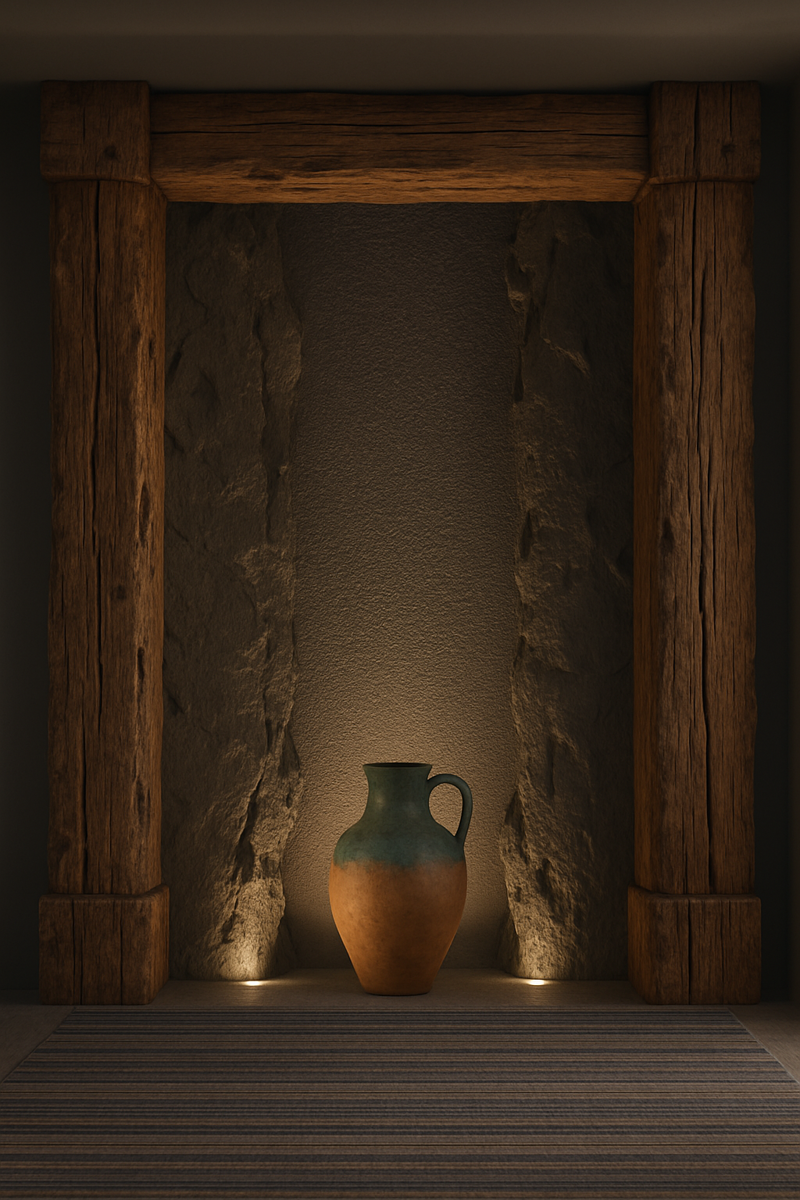
Architectural Proportions for Headboard Panel Sizing
Determining the width and height of a headboard wall panel requires analyzing the bed frame scale and total room dimensions. A standard layout extends the panel framing 15 to 20 cm beyond each side of the mattress frame to establish a clear visual baseline. For rooms with standard 260 cm ceiling heights, panel frames typically terminate 20 to 30 cm below the ceiling moulding to maintain vertical breathing room.
When planning full-height wall paneling, vertical battens must align with existing architectural features such as electrical outlets, wall sconces, and switches. Polure high-density profiles maintain straight line geometry across long spans, preventing visual distortion across wide bedroom walls.
Material Density and Thermal Stability Specifications
Polyurethane decorative profiles are manufactured from rigid, closed-cell polyurethane. The target production density is approximately 150-220 kg/m³ (production target ~160 kg/m³), falling within the structural density range of 150-220 kg/m³ (production target ~160 kg/m³). This high-density core prevents surface indentation from casual impact behind the bed area.
Technical material characteristics include:
- Operating temperature range: -100 °C / +80 °C
- Water absorption rate: below 1%
- Cellular structure: Closed-cell rigid polyurethane
These thermal and moisture resistance values ensure the framing retains dimensional stability over long operational lifespans without warping or shrinking at profile joints.
Substrate Preparation and Adhesive Application Protocols
Wall surfaces must be clean, dry, dust-free, and structurally sound prior to profile placement. Existing paint layers showing peeling or flacking must be scraped down to solid plaster. Polyurethane (PU) assembly adhesive must be used for bonding profiles to the wall substrate.
The application of silicone adhesives is forbidden, as silicone lacks the long-term shear strength and chemical bonding characteristics required for high-density polyurethane profiles. Adhesive should be applied in continuous beads along the back mounting channels of the profile to ensure total surface contact.
Mechanical Fastening and Angle Cutting Guidelines
Achieving tight, gap-free corner joints requires precise 45-degree miter cuts using a sharp, high-tooth saw blade. In addition to PU adhesive bonding, mechanical fixing with screws is mandatory to anchor the panels securely while the adhesive cures.
When incorporating decorative columns or pilasters within a headboard wall layout, note that these elements are strictly decorative and do not carry structural loads. Screws must be countersunk slightly below the profile surface to allow for flush filler finishing.
Surface Joint Finishing and Painting Requirements
After mechanical fastening and adhesive curing, joint gaps and screw heads must be filled with joint putty. Once dry, the filled areas must be sanded smooth using 180-220 grit sandpaper to create an even surface transition.
Profiles come factory primed from production. Applying an additional field primer coat is optional, depending on the specific chemistry of the chosen topcoat paint. Two coats of premium interior paint should be applied for complete coverage. If profiles are installed on exterior-facing perimeter walls subject to direct sunlight, UV-resistant paint formulation is mandatory.


