Polyurethane Decorations: Technical Sizing & Mounting Guide
Technical guide on selecting and installing polyurethane decorations. Learn precise sizing ratios, wall measurements, mounting steps, and paint prep.
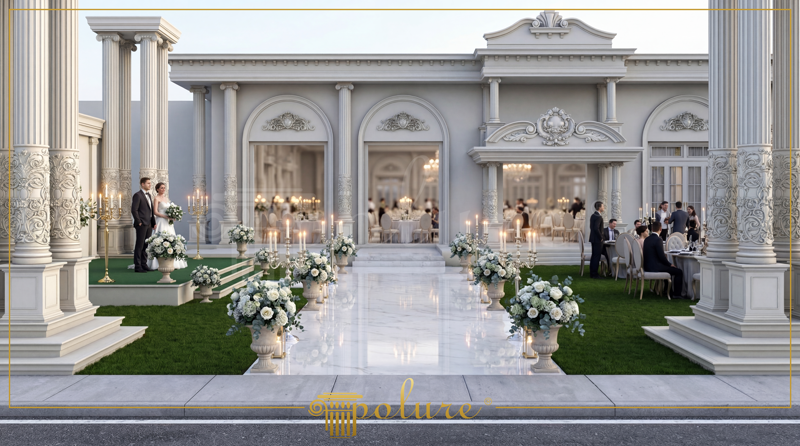
Physical Properties and Density Specifications
Rigid polyurethane decorations are produced with a closed-cell physical structure, yielding a density range of 150-220 kg/m³. This high-density construction limits water absorption to under 1%, making the profiles resistant to moisture and environmental decay. The material's dimensional stability has been tested between -20 °C and +70 °C without expanding or warping.
Because closed-cell polyurethane has low water absorption (below 1%), dimensional stability remains constant over time. These technical properties allow identical profiles to perform consistently in both indoor living spaces and harsh outdoor facades, provided correct mounting procedures and coatings are specified.
Dimension Selection and Architectural Proportions
Selecting the correct profile size depends on ceiling height and room volume. For standard ceiling heights of 2.60 meters to 2.80 meters, profile cross-sections ranging from 80 mm to 120 mm maintain visual balance. In larger volumes with ceiling heights exceeding 3.50 meters, cross-sections should scale up to 150 mm or 200 mm to prevent decorative elements from appearing disproportionately small.
Wall paneling and corner motifs must respect structural axis points. Oversized wall mouldings can visually crowd doors and windows, while undersized elements lack definition. Technical project drawings should calculate projection depth alongside face height to ensure lighting and furniture clearances remain unaffected.
Field Measurement and Material Quantity Calculation
Accurate field measurement requires taking perimeter dimensions at the exact height where decorations will be installed. Wall irregularities can alter linear distances, so measuring along ceiling-wall intersections with a laser meter produces the most reliable data. Always measure every wall segment individually rather than assuming parallel geometry.
When calculating final order quantities, a material buffer must be added for miter cuts and profile alignment. Standard straight runs require an additional 10% material allowance, whereas complex layouts with numerous 45-degree miter joints require a 15% waste margin. Ordering exact net linear measurements usually results in project delays during site fitting.
Fixing Protocols and Mechanical Fastening Rules
Successful installation begins with a clean, dry, and dust-free substrate. Joints must be cut cleanly at a 45-degree miter angle using a dedicated saw. Polure specifies high-tack polyurethane (PU) assembly adhesives for all joint bonding and back-surface attachment; standard silicone adhesives are strictly forbidden due to poor shear strength and chemical incompatibility.
In addition to adhesive bonding, mechanical fixing with screws is mandatory. Fasteners secure the profile while the PU adhesive cures completely. Decorative columns or pilasters installed during this stage are strictly non-structural and carry zero load capacity; structural framing must support building loads independently.
Surface Preparation, Sanding, and Coating
After securing profiles with screws and adhesive, screw heads and seam gaps require filling with an appropriate filler paste. Once cured, seams must be sanded smooth using 180 to 220 grit sandpaper to create an invisible transition across profile joints. High-grade polyurethane decorations come pre-primed from the factory, making an extra primer layer optional before interior painting.
For exterior installations, applying a high-grade UV-resistant topcoat paint is mandatory to prevent solar degradation. Interior profiles can be finished with two coats of water-based acrylic or emulsion paint. Skipping the proper sanding phase with 180-220 grit paper will result in visible joint lines after paint application.
Pre-Purchase Checklist and Error Prevention
Before finalizing material orders, review site conditions and profile specifications against this technical checklist:
- Verify substrate surfaces are completely dry and structurally sound before applying PU adhesive.
- Ensure a mandatory 10% to 15% allowance is added to net linear wall measurements for 45-degree miter cuts.
- Include the product weight and fixing loads when assessing the substrate and supporting structure.
- Reject silicone adhesives in favor of high-strength polyurethane assembly adhesives.
- Select UV-resistant exterior paint whenever profiles are exposed to direct sunlight.


